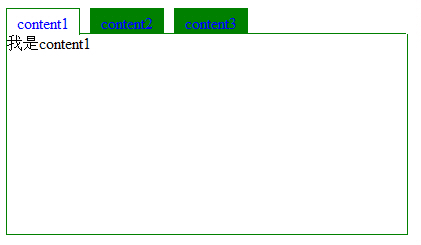
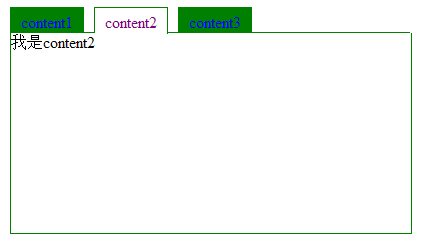
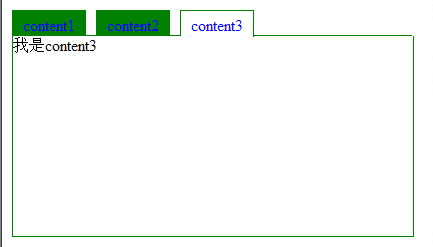
使用css和js实现Tab选项卡
文章来源:365jz.com 点击数:
810 更新时间:2009-09-18 10:17
参与评论
折腾一晚上才弄出这玩样!


 Code
Code
<!DOCTYPE html PUBLIC "-//W3C//DTD XHTML 1.0 Transitional//EN" "http://www.w3.org/TR/xhtml1/DTD/xhtml1-transitional.dtd">
<html xmlns="http://www.w3.org/1999/xhtml">
<head>
<title>TabDemo</title>
<style type="text/css">
ul#tabNav
{
width:400px;
list-style:none;
border-bottom:solid 1px green;
margin:0;
padding-left:0;
padding-bottom:26px;//google浏览器上测试能正常显示,可是IE7不行,所以有下面这句
*padding-bottom:0;//IE7支持
}
ul#tabNav li
{
float:left;
height:25px;
margin:0 10px -2px 0;//关键地方
background-color:Green;
color:black;
border:solid 1px Green;
border-bottom:0;
padding:0;
}
ul#tabNav a:link,ul#tabNav a:visited
{
display:block;
text-decoration:none;
padding:5px 10px 3px 10px;
}
#tabContent
{
width:400px;
height:200px;
border:solid 1px green;
border-top-width:0;
}
#tabNav li.tabSelected
{
border-bottom:solid 1px white; //关键地方
background-color:White;
color:Black;
}
</style>
<script type="text/javascript">
function showContent(index)
{
var e = document.getElementById("content"+index);
e.style.display = "";
for(var i=1; i<4; i++)
{
if(i != index)
{
var e2 = document.getElementById("content"+i);
e2.style.display = "none";
document.getElementById("tab"+i).className="";
}
else
{
document.getElementById("tab"+i).className="tabSelected";
}
}
}
</script>
</head>
<body>
<ul id="tabNav">
<li onmouseover="showContent(1)" id='tab1' class="tabSelected"><a href='#'>content1</a></li>
<li onmouseover="showContent(2)" id='tab2' class="""><a href='#'>content2</a></li>
<li onmouseover="showContent(3)" id='tab3' class=""><a href='#'>content3</a></li>
</ul>
<div id="tabContent">
<div id="content1" >
我是content1
</div>
<div id="content2" style="display:none">
我是content2
</div>
<div id="content3" style="display:none">
我是content3
</div>
</div>
</body>
</html>
Tag标签: css tab
如对本文有疑问,请提交到交流论坛,广大热心网友会为你解答!! 点击进入论坛
------分隔线----------------------------


 Code
Code


