图片剪切板(文件上传)的实现
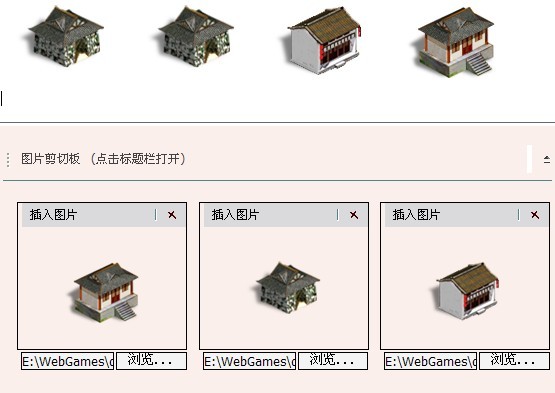
有有很多用户说新浪博客的图片剪切板很好用,上传方便,研究了一下,确实不错啊,选择文件,单击插入到编辑框中,
一次可以选择多个,所见所得,没有弹出窗,方便简洁,见图

2.
思路是这样,打开编辑器的时候,后台初始化N个表单和单格,用来存放浏览显示图片
var sFileUpload = '\
<form id="form' + _sId + '" title="" enctype="multipart/form-data" action="<%=Globals.ApplicationPath %>/System/Club_ForumUploadImage.aspx?clubID=<%= SpacesContext.Current.ClubID %>" method="post" target="iframe_data">\
<input name="filePath" type="hidden" id="filePath' + _sId + '" />\
<input name="fileKey" type="hidden" value="' + _sId + '" />\
<input name="fileAction" id="fileAction' + _sId + '" value="" type="hidden" />\
<table width="180px" border="0" cellspacing="0" cellpadding="0" class="img_box">\
<tr>\
<td style="border:1px solid #000">\
<table width="100%" border="0" cellspacing="0" cellpadding="0">\
<tr style="background:#dee3e7">\
<td width="*" height="20"> <a href="javascript:addArticle(' + _sId + ');">插入图片</a></td>\
<td width="2"><img src="img/pic_box_sline.gif" width="2" height="12"></td>\
<td width="20" align="center"><a href="javascript:clearSelect(' + _sId + ');"><img src="<%=Globals.GetClubSkinPath() %>/images/del_btn.gif" width="10" height="10" border="0"></a></td>\
</tr>\
<tr>\
<td height="1" colspan="3" bgcolor="#787878"></td>\
</tr>\
<tr align="center" valign="middle" bgcolor="#ffffff">\
<td height="120" colspan="3" id="picShow' + _sId + '" style="background:url(\'\');"><span style="color:#7f7f7f">图片剪切板</span></td>\
</tr>\
</table>\
</td>\
</tr>\
<tr>\
<td height="1"></td>\
</tr>\
<tr>\
<td><input name="forumID" type="hidden" value="<%=SpacesContext.Current.ForumID %>" /><input name="fileContent" type="file" id="file' + _sId + '" type="file" style="width:auto!important;width:100%;border:1px solid #000; font-size:12px;" onchange="javascript:initUpload(this,' + _sId + ');" /> </td>\
</tr>\
</table>\
</form>\
其中
from+ID 表单ID
fileKey 表单序列号
filePath+key 文件的本地路径
picShow+ID 表单中的图片
file+ID 文件上传控件
当用户选择上传图片后, 触发initUpload事件,该事件用来把本地文件显示到picShow+ID中,单击发布文章后用js处理,先postFile文件,
function postFile(_sId){
var sId = 'form' + _sId;
if (exist(sId)) {
if ($(sId).title.length > 0 && seekUse(_sId)) {
$(sId).submit();
} else {
clearSelect(_sId);
postFile( ++_sId );
}
}else{
et.save();
var oForm=$('<%=PostForm.ClientID %>');
$('<%=btn_Post.ClientID %>').click();
}
}
逐个检查图片表单,如果表单域有图片先提交图片文件的表单,这个表单提交到一个隐藏帧,也就是iframe
<iframe name="iframe_data" id="iframe_data" style="display: none"></iframe>
如果上传出错调用parent.report_upload_error(msg,id);上传成功调用parent.report_upload_ok(form_id, imageUrl)
report_upload_ok里通过form_id找到表单,替换图片为上传成功提示,替换编辑框的里的本地路径为上传成功后服务器上的图片路径,
然后调用postFile(++id);就像接力一样,提交到隐藏帧,隐藏帧报告给父窗口上传成功,父窗口在提交下一个图片到隐藏帧,所有图片提交
完以后,在post当前文档.
嗯,挺完美的解决方案,可惜的是IE6以后这个方案不在完美,因为IE7以上版本不在支持显示本地图片,所以选择文件后无法预览图片了,想看看新浪是怎么解决这个问题的,竟然连上传方式都换了,网上搜索了一下似呼可以使用AlphaImageLoader滤镜解决这个问题,firefox似呼也可以通过替换路径来显示本地图片,不过ff下路径目录丢失,处理比较麻烦,出于安全考虑,还是觉得这些方案不够成熟.
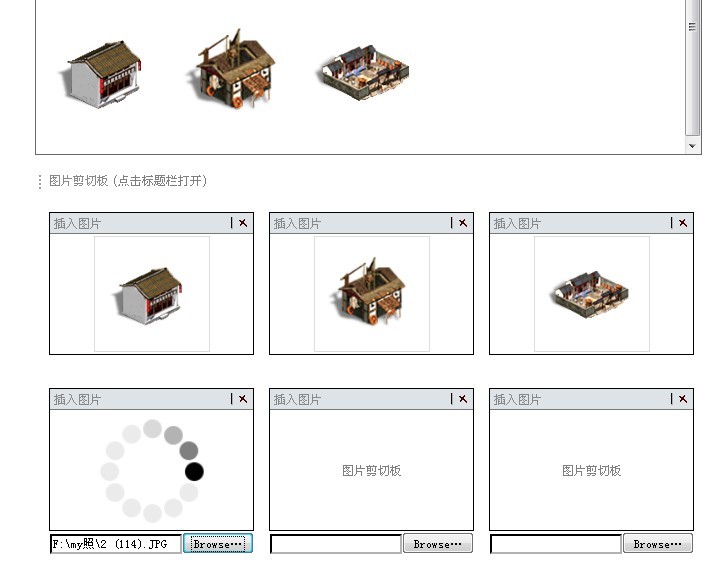
因此,我用了以下方案, 修改initUpload ,picShow +Id 显示图片载入中,并提交当前图片表单到iframe,iframe报告状态,成功后直接替换为服务器端路径,发布文章时无需在文件接力
这样就绕过了浏览器安全问题,并兼容大多数浏览器,当点击删除图片时在后台提交到server端删除,牺牲了一点载入时间,不过看来是值得的
firefox下效果
如对本文有疑问,请提交到交流论坛,广大热心网友会为你解答!! 点击进入论坛

