《CSS3实战》笔记--渐变设计(一)(Webkit引擎)
基于CSS的渐变与图片渐变相比,最大的优点是便于修改,同时支持无级缩放,过渡更加自然。目前,实现CSS渐变的只有基于Webkit和Gecko引擎的浏览器,基于Presto引擎的Opera浏览器暂时不支持渐变,基于Trident的IE虽然可以通过滤镜的方式实现,但并不提倡。
Webkit引擎(Safari 4及以上版本)的CSS渐变设计
基本语法:
-webkit-gradient(<type>,<point>[,<radius>]?,<point>[,<radius>]?[,<stop>]*)
参数说明:
<type>:定义渐变类型,包括线性渐变(linear)和径向渐变(radial)。
<point>:定义渐变起始点和结束点坐标,即开始应用渐变的x轴和y轴坐标,以及结束渐变的坐标。该参数支持数值,百分比和关键字,如(0,0)或者(left,top)等。关键字包括top,bottom,left和right。
<radius>:当定义径向渐变时,用来设置径向渐变的长度,该参数为一个数值。
<stop>:定义渐变色和步长。包括三个类型值,即开始的颜色,使用from (color value)函数定义;结束的颜色,使用to(color value)函数定义:颜色步长,使用color-stop(value,color value)定义。color-stop()包含两个参数值,第一个参数值为一个数值或者百分比值,取值范围为0~1.0(或者0%~100%),第二个参数值表示任意颜色值。
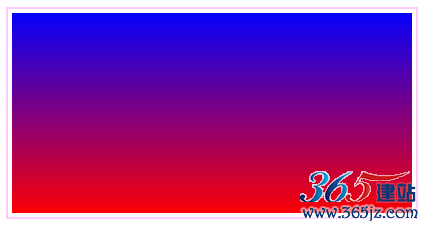
直线渐变基本用法:
/*简单的线性渐变背景色,从顶部到底部,从蓝色向红色渐变显示*/background: -webkit-gradient(linear, left top, left bottom, from(blue), to(red));
演示效果:
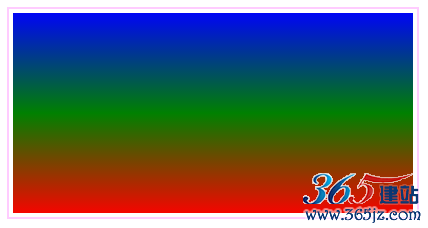
/*从顶部到中间,再从中间到底部,从蓝色到绿色,再到红色渐变显示*/background: -webkit-gradient(linear, left top, left bottom, from(blue), to(red), color-stop(50%, green));
演示效果:
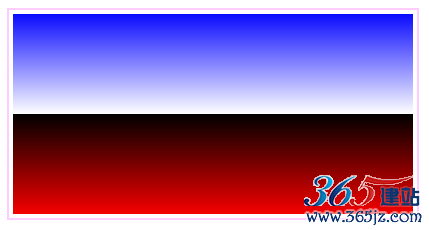
/*设计二重渐变,从顶部到底部,先是从蓝色到白色渐变显示,再从黑色到红色渐变显示*/background: -webkit-gradient(linear, left top, left bottom, from(blue), to(red),color-stop(0.5, #fff), color-stop(0.5, #000));
演示效果:
/*通过设置不同的步长值,从而设计多重渐变效果,从顶部到底部,先是从蓝色到白色渐变,再从百色到黑色渐变,最后是从黑色到红色渐变显示*/background: -webkit-gradient(linear, left top, left bottom, from(blue), to(red),color-stop(0.4, #fff), color-stop(0.6, #000));
演示效果:
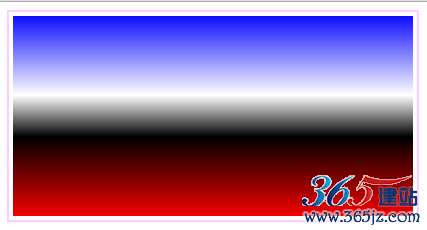
小结:color-stop()函数包含两个参数值,第一个参数值指定角标位置,第二个参数指定色标颜色。一个渐变可以包含多个色标,位置值为0~1之间的小数,或者0~100%之间的百分数,指定色标的位置比例。
径向渐变的基本用法
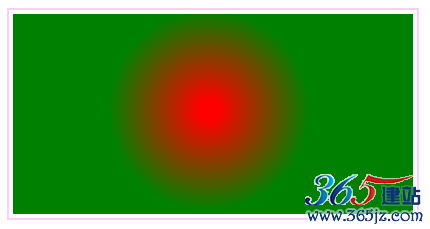
/*同心圆(圆心坐标为200,100),内圆半径为10,外圆半径为100,内圆小于外圆半径,从内圆红色到外圆绿色径向渐变,超过外圆半径显示为绿色,内圆显示红色*/background: -webkit-gradient(radial, 200 100, 10, 200 100, 100, from(red), to(green));
效果显示:
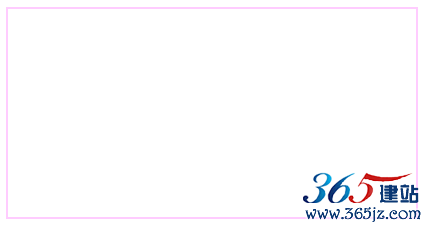
/*同心圆(圆心坐标为200,100),内圆半径为100,外圆半径为100,内圆小于外圆半径,从内圆红色到外圆绿色径向渐变。当内圆和外圆半径相等时,则渐变无效*/background: -webkit-gradient(radial, 200 100, 100, 200 100, 100, from(red), to(green));
演示效果:
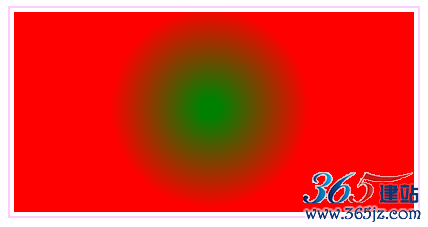
/*同心圆(圆心坐标为200,100),内圆半径为100,外圆半径为10,内圆大于外圆半径,从内圆红色到外圆绿色径向渐变,超出内圆半径显示为红色,外圆显示绿色*/
background: -webkit-gradient(radial, 200 100, 100, 200 100, 10, from(red), to(green));
演示效果:
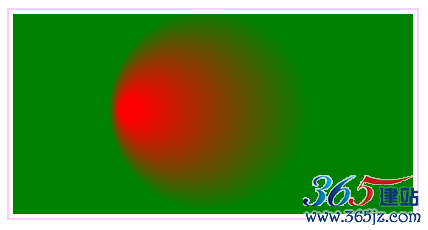
/*非同心圆,内圆圆心和外圆圆心的距离小于两圆半径的差,则显示上图效果,呈现锥形径向渐变效果。锥形的尖锐性与两圆圆心距离成正比*/background: -webkit-gradient(radial, 120 100, 10, 200 100, 100, from(red), to(green));
演示效果:
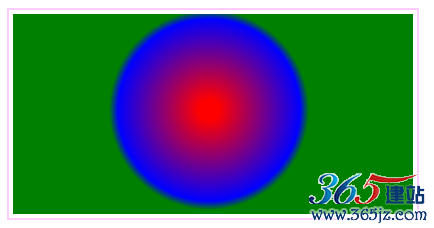
/*同心圆,在内圆到外圆中间90%的位置,即距离外环内添加一个蓝色色标,设计多层径向渐变,如下图所示。*/background: -webkit-gradient(radial, 200 100, 10, 200 100, 100, from(red), to(green), color-stop(90%, blue));
演示效果:
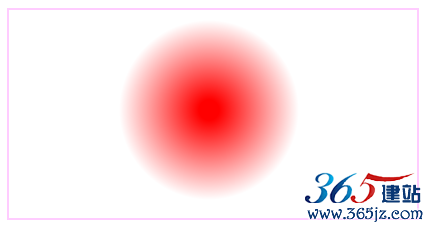
/*通过设置to()函数的颜色值为透明,可以设计发散的圆形效果*/background: -webkit-gradient(radial, 200 100, 10, 200 100, 90, from(red), to(rgba(1,159,98,0)));
演示效果:
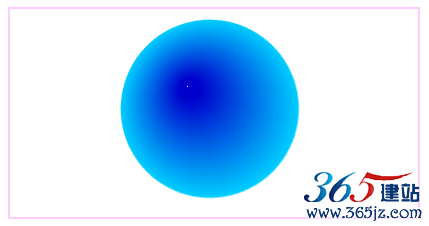
/*通过设置to()函数的颜色值为透明,同时设计相似色,可以设计球形效果*/background: -webkit-gradient(radial, 180 80, 10, 200 100, 90, from(#00C), to(rgba(1,159,98,0)), color-stop(98%, #0CF));
演示效果:
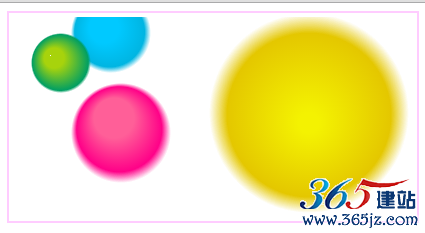
/*通过为背景图定义多个径向渐变,可以设计多个气泡效果,如下图所示*/background: -webkit-gradient(radial, 45 45, 10, 52 50, 30, from(#A7D30C), to(rgba(1,159,98,0)), color-stop(90%, #019F62)), -webkit-gradient(radial, 105 105, 20, 112 120, 50, from(#ff5f98), to(rgba(255,1,136,0)), color-stop(75%, #ff0188)), -webkit-gradient(radial, 95 15, 15, 102 20, 40, from(#00c9ff), to(rgba(0,201,255,0)), color-stop(80%, #00b5e2)), -webkit-gradient(radial, 300 110, 10, 300 100, 100, from(#f4f201), to(rgba(228, 199,0,0)), color-stop(80%, #e4c700)); -webkit-background-origin: padding-box; -webkit-background-clip: content-box;
演示效果:
渐变应用定义渐变效果的边框
代码:
<!DOCTYPE html PUBLIC "-//W3C//DTD XHTML 1.0 Transitional//EN" "http://www.w3.org/TR/xhtml1/DTD/xhtml1-transitional.dtd">
<html xmlns="http://www.w3.org/1999/xhtml">
<head>
<meta http-equiv="Content-Type" content="text/html; charset=utf-8" />
<title>Webkit引擎的渐变实现方法</title>
<style type="text/css">
div {
 border-width: 20px;
 width: 400px;
 height: 200px;
 margin: 20px;
 -webkit-border-image: -webkit-gradient(linear, left top, left bottom, from(#00abeb), to(#fff), color-stop(0.5, #fff), color-stop(0.5, #66cc00)) 20;
}
</style>
</head>

<body>
<div></div>
</body>
</html>
演示效果:

定义填充内容效果
代码:
<!DOCTYPE html PUBLIC "-//W3C//DTD XHTML 1.0 Transitional//EN" "http://www.w3.org/TR/xhtml1/DTD/xhtml1-transitional.dtd">
<html xmlns="http://www.w3.org/1999/xhtml">
<head>
<meta http-equiv="Content-Type" content="text/html; charset=utf-8" />
<title>Webkit引擎的渐变实现方法</title>
<style type="text/css">
.div1 {
 width:400px;
 height:200px;
 border:10px solid #A7D30C;
 background: -webkit-gradient(linear, left top, left bottom, from(#00abeb), to(#fff), color-stop(0.5, #fff), color-stop(0.5, #66cc00));
 float:left;
}
.div1::before {
 width:400px;
 height:200px;
 border:10px solid #019F62;
 content: -webkit-gradient(radial, 200 100, 10, 200 100, 100, from(#A7D30C), to(rgba(1, 159, 98, 0)), color-stop(90%, #019F62));
 display: block;
}
</style>
</head>

<body>
<div class="div1">透视框</div>
</body>
</html>
显示效果:

定义列表图标
<!DOCTYPE html PUBLIC "-//W3C//DTD XHTML 1.0 Transitional//EN" "http://www.w3.org/TR/xhtml1/DTD/xhtml1-transitional.dtd">
<html xmlns="http://www.w3.org/1999/xhtml">
<head>
<meta http-equiv="Content-Type" content="text/html; charset=utf-8" />
<title>Webkit引擎的渐变实现方法</title>
<style type="text/css">
ul {
 list-style-image: -webkit-gradient(radial, center center, 4, center center, 8, from(#ff0000), to(rgba(0, 0, 0, 0)), color-stop(90%, #dd0000))
}
</style>
</head>

<body>
<ul>
 <li>新闻列表项1</li>
 <li>新闻列表项2</li>
 <li>新闻列表项3</li>
 <li>新闻列表项4</li>
</ul>
</body>
</html>
演示效果:

如对本文有疑问,请提交到交流论坛,广大热心网友会为你解答!! 点击进入论坛

